
Why Disposition First | How to Build Warhammer 11th Edition Army List | Part 1
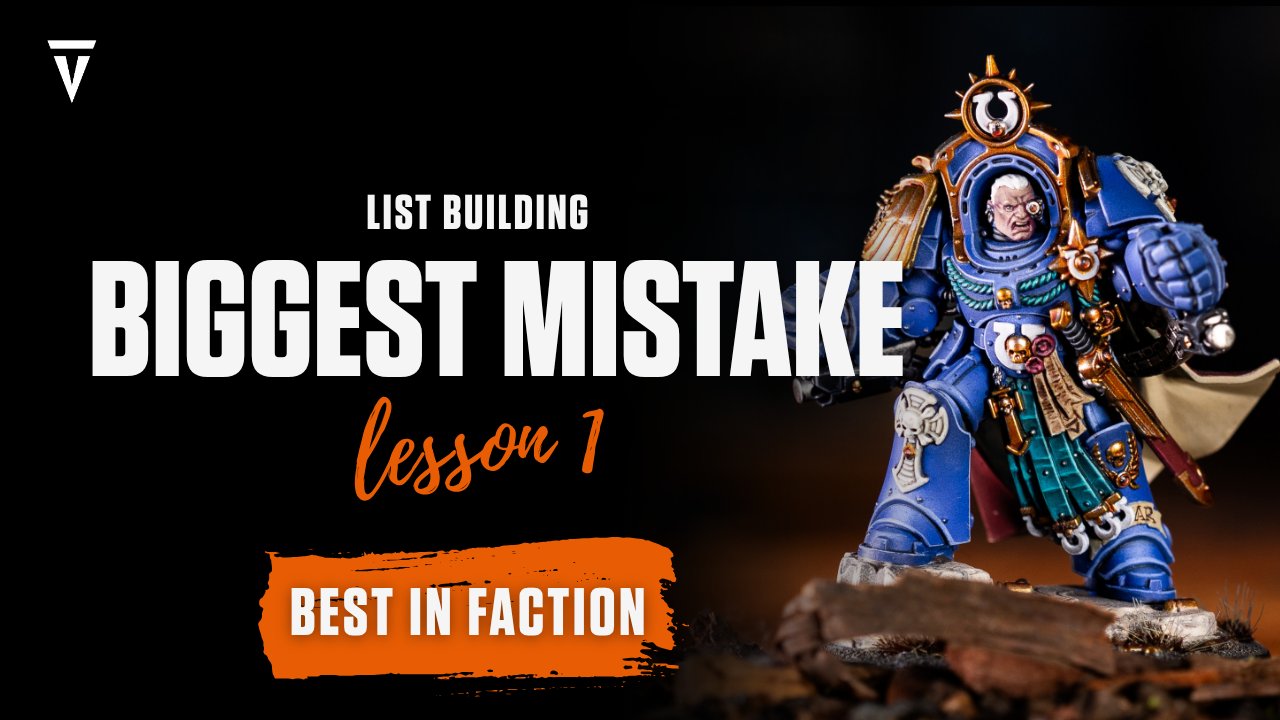
VANGUARD TACTICS | LIST BUILDING SERIES, PART 1 ONE
Disposition First: The Step Most List Builders Skip
In my last post I broke down the Black Templars list I took to the LGT and why it worked. The most common question afterwards was simple: how do I build a list like that for my army?
You don't start with units, even though I know it is tempting. You don't even start with your detachment. You start with your disposition.
This is stage one of my list building process, and it's the step almost everyone skips.
The trap
Your favourite detachment might not let you play the mission your army is built for.
Most players open the app, find the detachment with the best rules, and build around it. Then they get to the table and find that detachment has locked them into a disposition their army is bad at. Every game feels like a fight against their own list.
My big mistake; I know because I've done it. I took Custodes on stream recently with a detachment I liked and units I liked, and it went badly. The units weren't the problem. I hadn't check whether that army could actually play Purge the Foe. It couldn't.
So from here on: disposition first.
Every mission is made of four ingredients
When you read a mission card, it asks you to do some mix of four things:
- Placement. Be somewhere specific: a table quarter, their territory, behind their lines.
- Killing. Destroy a unit, clear one off an objective, or kill more than your opponent.
- Holding. Sit on objectives. Sometimes one, sometimes several, sometimes more than your opponent.
- Actions. Give up shooting or fighting to perform a mission action.
Every disposition is a different recipe of those same four ingredients. Once you can look at a mission and say "this one is mostly holding, with a bit of killing", you have a lens you'll use for the rest of your Warhammer life.
Audit your army honestly
Before you can judge any disposition, you need a working knowledge of your army. You don't need to be an expert, but you do need a rough read on your army rule and what your units are capable of.
I couldn't pick up a brand new army tomorrow and choose its disposition, because I wouldn't know what it's good at yet. That understanding is what tells you the answer.
So use everything you've got. Read through your codex and get a feel for your army rule, your detachments and your key units. Think back to games you've played, even casual ones against friends: what worked, and what kept falling over? Trust your initial read. You might not get it right first time, and that's okay. That's exactly why we build a Plan A and a Plan B.
Not all armies are made equal, and that's fine. What matters is knowing what yours does well. Ask four questions:
- Killing. Can it reliably remove elites, vehicles and hordes every turn?
- Holding. Does it have durable, high OC units that stay put?
- Placement. Can it reach any part of the table, through speed or deep strike?
- Actions. Does it have cheap action or trade units you're happy to spend on the mission?
Write strong, okay or weak next to each.
Take Drukhari. They have almost no reliable monster killing, because Haywire is great into vehicles and poor into monsters. Play Purge the Foe into a monster army and you lose. Simple as that.
Aeldari are quick and tricksy and can be everywhere at once, but holding lots of objectives isn't their skill set. Compare that to ten Terminators with a banner: they're superb at holding, but once they land, they aren't going anywhere.
Low OC doesn't automatically mean you can't hold, either. Death Guard can hold very well once you learn to layer units on an objective. The audit is about the shape of your whole army, not one stat.
What each disposition asks of you
Purge the Foe. Kill, and kill more than your opponent. But it also asks you to hold, and often to hold more. This is the most misunderstood disposition in the game. Holding more on a six-objective map means holding four while your opponent holds two, and they get a full turn to react. Killing power alone does not make you a Purge player.
Take and Hold. You're mostly paid for each objective you control, so it rewards stacking objectives. It's also more aggressive than people expect. You need units that take points, not just units that sit on them.
Reconnaissance. Placement and actions. Be in different places, act on the enemy, keep moving around the table, and still hold a decent amount. Cheap action or trade units are the engine here: they spread out, do the work, and cost your opponent more to remove than they cost you.
Priority Assets. The highest action economy of the five. You'll do an action every turn, usually on your expansion or near home. The demand is consistency rather than difficulty, which makes it a brilliant way to learn the game.
Disruption. A bit of everything: killing, actions and placement, all spread around the table. It asks your army to do a lot, which makes it the most demanding disposition to master. If you're just starting out, it's one to park for now. Build your confidence with Take and Hold or Priority Assets first, since their demands are clearer and easier to plan around. Later on, if your army has the tools for a strong Disruption game, give it a go. In the right hands, it's a really rewarding way to play.
Your disposition plus theirs makes the mission
Picking a disposition doesn't pick one mission. Your disposition crossed with your opponent's creates the mission you actually play. Take and Hold into Purge the Foe, for example, gives you Immovable Object.
Each disposition is really a row of five possible missions, and your list has to cope with all of them. The meta used to be about armies. Now it's about dispositions too, so think about which ones you're most likely to face.
The test: can my army actually play it?
Three steps:
- Read. Which of the four ingredients does the disposition lean on most heavily?
- Compare. Check those against your audit.
- Decide. Every heavy requirement needs a unit that covers it. No cover, no disposition.
If a disposition needs you to hold three objectives all game and you own one durable unit, you can't play it well, and clever list building won't fix that. That isn't failure. It's information.
Narrow it to two
You'll usually land on two realistic options. If your army looks like a strong Take and Hold army, Priority Assets often sits right next to it. Beyond two, I wouldn't bother.
Write them down as Plan A and Plan B. If your first read on your army turns out to be wrong, Plan B is already waiting. Play some games, learn your army, and adjust.
The reverse matrix
Here's the part most people never do.
In a 2,000 point game you get three detachment points. Spend them on three 1DP detachments, a 2DP and a 1DP, or a single 3DP. Each detachment unlocks the dispositions you can choose from.
So instead of picking a detachment and living with its disposition, flip it around. Open your codex and go through every detachment, writing down each one that unlocks Plan A. Then do the same for Plan B.
When I did this live with the new Space Marine codex, aiming for Take and Hold, I went down the list. Assault Brethren unlocks it, so it goes on the list. Devastator Brethren gives Purge, so it doesn't. Gravis Siege Force unlocks it, so it goes on. Ironclad Champions gives Priority Assets, so that goes on the Plan B list.
Now you have a reverse matrix: a short list of the only detachments that get you where you want to go.
One non-negotiable, then flex
Pick one detachment from your Plan A list. That's your non-negotiable, because it unlocks your disposition.
Then spend your remaining detachment points on whatever best supports the units you love. If you want a detachment that gives a different disposition, that's fine, as long as your non-negotiable is in.
Lean into your army as well. If you have a whole Gravis collection, don't take the Terminator detachment. The best lists are the ones where the detachment, its unlocked disposition and the units it rewards all point the same way.
Good, cheap, fast
You've probably heard the saying: you can have it good, cheap or fast, but only two of the three. List building often works the same way. You can have the strongest detachment and the units you love, but sometimes it won't unlock the disposition you need.
When that happens, you choose: keep the strong detachment and accept a weaker disposition, or take a weaker detachment to unlock the right one. Neither is wrong. The mistake is not realising you made the choice.
What comes next
At this point you haven't picked a single unit, and that's the point. You know what your list has to do before you decide what goes in it.
Coming next week: Part Two, give every unit a job
Once you know your disposition, the next question is what each unit is actually there to do. In Part Two I'll break down the unit roles I use for every list: who kills hordes, who kills vehicles and monsters, who takes objectives, who holds them, and who controls the board. You'll also see why one of my most expensive units does three different jobs, and why every role needs a backup.
If you'd like to go deeper on dispositions, matchups and building a list you can take to any table with confidence, that's exactly what we teach in the 11th Edition Academy.
Got questions first? Come and talk to me. Tomorrow night, Tuesday 20 October at 9pm UK time, I'm running a free Zoom call all about the Academy. Bring your questions, find out exactly what's included, and get a behind-the-scenes look inside the course.
Thank you to Wayland Games
A big thank you to Wayland Games for sponsoring this blog. Supporting Wayland Games is a great way to support us, and their delivery is incredible for all your hobby products. If you're looking to pick up a few new units for your army, check out Wayland Games.
The above is our affiliate link.